
Scan for sensitive information easily and effectively.
GShark is a sensitive information detection and management platform. The backend is built with Go and Gin, and the current frontend is built with Vue 3, Vite, Vue Router 4, Vuex 4, and Element Plus. For the full introduction, please refer to articles and videos. For now, all scans target public environments, not local environments.
For the usage of GShark, please refer to the wiki.
- 🌐 Multi-Platform Support: GitHub, GitLab, Searchcode, Postman, and more
- 🔍 Flexible Rule Management: Custom scanning rules and filtering with whitelist/blacklist support
- 🔑 Fine-grained Access Control: Configurable menu and API permissions
- 🔄 Subdomain Discovery: Integrated gobuster for subdomain enumeration
- 🚀 Docker Deployment: Containerized deployment for easy setup
- 📊 Vue 3 Management Interface: Vite-powered web interface for task and result management
Default login after initialization:
gshark / gshark
# Clone the repository
git clone https://github.com/madneal/gshark

cd gshark

# Build and start the container
docker-compose build && docker-compose up
Important
Before the MySQL database initial, the scanner container will exit. Need to restart the scanner after the MySQL database initial.
# Clone the repository
git clone https://github.com/madneal/gshark.git
cd gshark

# Make the script executable (only needed once)
chmod +x deployment.sh

# Run the script to build and start the service
./deployment.sh- Nginx
- MySQL 8.0+
- Go 1.25+ for building the backend
- Node.js 20+ and npm for building the frontend
It is recommended to deploy the frontend with Nginx. Build the Vite project, place the generated web/dist files in /var/www/html, and configure Nginx to reverse proxy /api/ to the backend service. For detailed deployment tutorials, you can watch videos on bilibili or youtube. For deployment on Windows, refer to this link.
Can use nginx -t to locate the nginx.conf file, then modify the nginx.conf:
// config the user accoring to your need
user  www www;
worker_processes  1;

events {
    worker_connections  1024;
}

http {
    include       mime.types;
    default_type  application/octet-stream;
    sendfile        on;
    keepalive_timeout  65;
    server {
        listen       8080;
        server_name  localhost;

        location / {
            autoindex on;
            root   html;
            index  index.html index.htm;
        }
        location /api/ {
            proxy_set_header Host $http_host;
            proxy_set_header X-Real-IP $remote_addr;
            proxy_set_header X-Forwarded-For $proxy_add_x_forwarded_for;
            proxy_set_header X-Forwarded-Proto $scheme;
            rewrite ^/api/(.*)$ /$1 break;
            proxy_pass http://127.0.0.1:8888;
        }
        error_page   500 502 503 504  /50x.html;
        location = /50x.html {
            root   html;
        }
    }
    include servers/*;
}
The deployment work is straightforward. Find the corresponding version zip file from releases.
Unzip and copy the files inside dist to /var/www/html folder of Nginx.
unzip gshark*.zip
cd gshark*
mv dist/* /var/www/html/
# for Mac
mv dist/* /usr/local/www/html/
Start the Nginx and the Front-End is deployed successfully.
Tip
If you installed Nginx by Homebrew, you need to stop Nginx by:
brew services stop nginxStart Nginx for Ubuntu:
systemctl start nginx./gshark serveInitially, copy config-temp.yaml to config.yaml and update it for your environment. After that, you can run the gshark binary file directly. Then, access localhost:8080 for local deployment.
If you haven't initialized the database before, you will be redirected to the database initialization page first.

./gshark scanFor the scan service, it's necessary to config the corresponding rules. For example, GitHub or Gitlab rules.
For the incremental deployment, sql.md should be executed for the corresponding database operations.
git clone https://github.com/madneal/gshark.git
cd gshark/server
go mod tidy
cp config-temp.yaml config.yaml
go build
Run the web server:
go build
./gshark serve
Or
go run main.go serveRun the scan task:
go build
./gshark scan
Or
go run main.go scanNote
On macOS ARM, CPU percentage collection in the server-info page depends on cgo. Use CGO_ENABLED=1 when running or building the backend if you need CPU usage percentages:
CGO_ENABLED=1 go run main.go servecd ../web
npm install
npm run serve
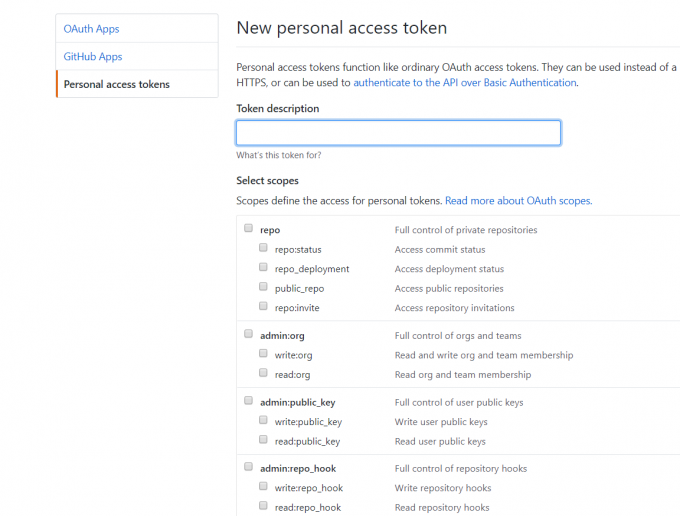
To execute the scan task for GitHub, you need to add a GitHub token for crawl information in GitHub. You can generate a token in tokens. Most access scopes are enough. For the GitLab search, remember to add a token too.
For the Github or Gitlab rule, the rule will be matched by the syntax in the corresponding platforms. Directly, you config what you search at GitHub. You can download the rule import template CSV file, then batch import rules.

Filter is only addressed to GitHub search now. There are three classes of filters, including extension, keyword, sec_keyword. For extension and keyword, they can used for blacklist or whitelist.
For more information, you can refer to this video.
You are supposed to rename config-temp.yaml to config.yaml and config the database information and other information according to your environment.

- Default username and password to login
gshark/gshark
- Database initial failed
Make sure the MySQL version is 8.0 or later. Remove the database before initializing a second time.
go get ./... connection error
It's suggested to enable GOPROXY(refer this article for golang upgrade):
go env -w GOPROXY=https://goproxy.cn,direct
go env -w GO111MODULE=on
- When deploying the web to
nginx, the page was empty
Try to clear LocalStorage and confirm the Nginx /api/ reverse proxy points to the backend service.
- Server info page shows CPU usage as zero on macOS ARM
Run or build the backend with cgo enabled:
CGO_ENABLED=1 go run main.go serve- GShark v1.5.0 版本及 Docker 使用指南
- GShark v1.3.0 版本支持 Docker
- GShark 支持多种规则类型以及规则配置建议
- 批量导入规则
- GShark部署
- windows 部署
- GShark v1.0.2 版本发布
- GShark v1.1.0 更新内容介绍
![]()
GShark 是 404Team 星链计划2.0中的一环,如果对 GShark 有任何疑问又或是想要找小伙伴交流,可以参考星链计划的加群方式。